Deckbuilding Archive

Mapping The Perfect Deck

Deckbuilding / Roguelike Strategy / Slay the Spire Field Notes

Keep your deck small, your plan sharp, and your outs clear. The Spire rewards tight lists and ruthless skips.

Archive tag: DECK-LOOP-PRIMER
Cross-ref: Walkthrough routes · Relic archive

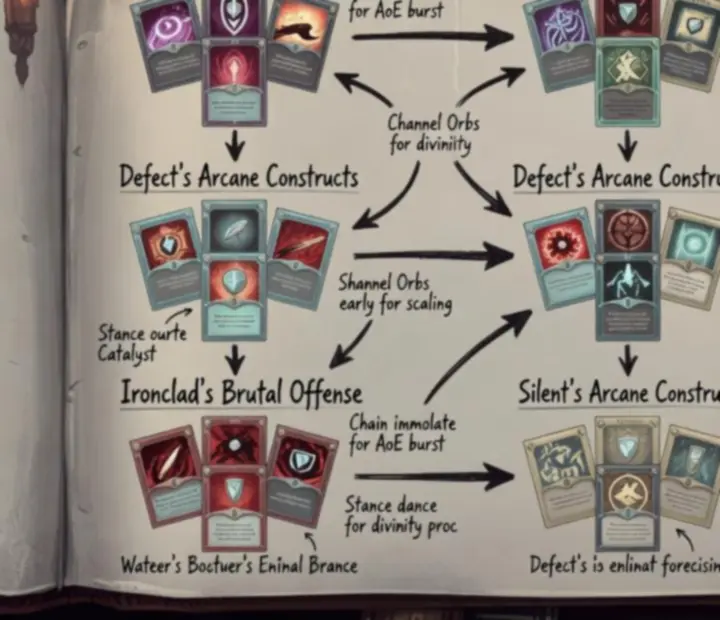
Hand-drawn clusters of Slay the Spire deck archetypes arranged on parchment cards

Deckbuilding Essentials

The Core Deckbuilding Loop

Every run in Slay the Spire is the same argument with yourself: should this card live in my deck for the next twenty floors? Deckbuilding is less about collecting everything strong and more about protecting a clear plan from clutter.

1. See a card

Ask: does this card advance my current plan (damage, block, scale, utility) or fix a known weakness?

If not: skip. Future you has to draw it.

2. Check deck size

Small decks cycle key cards faster. Aim for a lean, consistent list rather than a bloated toolbox.

3. Trim ruthlessly

Use merchants and events to remove strikes, defends and off-plan cards. Each purge is a quiet power spike.

4. Test under fire

Elites reveal if your deck truly works. After each elite, reassess: do you need more scaling, more block, or faster kills?

Rule of thumb

Only add a card if you would happily draw it in your opening hand against an elite or boss. Anything else is probably a skip, even if it looks flashy.

Visualising Deck Archetypes

How Deck Archetypes Come Together

Archetypes in the Spire are card clusters that reinforce one another. Think in terms of engines and support pieces, not single all-stars.

Explore card database

Poison Control

Silent · Scaling damage · Longer fights

Stable on higher Ascension
Cluster of poison cards, skills and powers forming a poison deck archetype

Core cluster: a repeatable poison source, ways to amplify stacks, and enough block to survive the ramp-up.

  • Engine cards: repeatable poison application, catalysts, and poison-friendly powers.
  • Support: cheap block, card draw to find your engine, targeted weak/vulnerable.
  • Payoffs: cards that convert big poison stacks into burst kills when needed.

If your opening hand can’t safely set up poison vs. elites, the archetype isn’t ready yet.
Strength Scaling

Ironclad · Heavy hits · Snowball potential

Needs time to set up
Cluster of strength powers, attacks and support cards showing a strength archetype

Core cluster: strength sources plus payoff attacks that scale with it.

  • Engine: strength powers and repeatable buffs.
  • Payoffs: multi-hit and X-cost attacks that grow with strength.
  • Patchwork: block tools that don’t slow you down (seeing red–style cards, cheap skills).

Don’t chase every big attack. Two clean payoffs are better than five clunky ones.

Block & Infinite Loops

Defect & Watcher · Safety nets · Combo turns

High skill, easy to misbuild
Cluster of block and combo cards arranged as an infinite loop archetype

Core cluster: reliable block creation plus a loop that repeats key cards.

  • Floor plan: first survive every enemy’s scariest turn, then assemble your loop.
  • Pieces: card draw, energy, and ways to shuffle or recur specific cards.
  • Warning: avoid half-finished combos; if a loop is three cards short, it’s not a loop yet.

Infinite builds win runs, but half-baked infinites lose them. Commit or let it go.

Card Evaluation

When to Add or Skip a Card

Every reward screen is a fork in your route. This section treats card picks like study sheets rather than vibes.

Top 10 picks for new players

Reliable Strike+

Role: Core damage, early game

Effect snapshot

  • Cost: 1 energy
  • Damage: strong single-target hit with small upside when upgraded
  • Tag: straightforward, no setup required

When to add

  • Your deck lacks cheap, reliable damage (especially Act 1).
  • You’re fighting many low-HP hallway enemies and need tempo.
  • You have strength scaling that turns modest attacks into serious output.

When to skip

  • Your deck already has 4–6 strong attacks that cycle well.
  • You’re shifting into a power or poison plan where raw attacks matter less.
  • You’re preparing for bosses that require block or scaling more than flat damage.

Heavy Setup Power

Role: Long-fight scaling

Effect snapshot

  • Cost: 2 energy, no immediate damage or block.
  • Payoff: strong scaling if played early and fights last long.
  • Risk: dead draw in short hallway fights.

Critical questions

  • Can your current deck survive the first 3–4 turns without this card doing anything?
  • Do you have energy or draw relics that make 2-cost powers easy to slot in?
  • Are you leaning into bosses and elites where fights go long (e.g., Time Eater, Champ)?

Skip signals

  • Your deck is already top-heavy with 2-cost cards.
  • You’re struggling vs. early elites and need immediate block or damage.
  • Your plan is a burst or infinite combo that doesn’t care about slow powers.

Skillful Cantrip

Role: Deck smoothing, synergy enabler

Effect snapshot

  • Cost: 0 energy, modest effect, draws or creates cards.
  • Tag: powers up many relics and archetypes (zero-cost synergies).
  • Risk: easy to over-add and dilute your threats.

Best uses

  • When you have card draw or discard payoffs that love cheap plays.
  • To smooth awkward hands where you often float energy or whiff on key cards.
  • As glue that makes synergy engines (poison, powers, stance swapping) feel reliable.

Red flags

  • You’ve already added several low-impact skills “because they’re free”.
  • Your boss plan hinges on finding specific payoffs, not playing extra fluff.
  • You struggle to kill enemies before they scale; you need damage or hard block, not more dirt.

Synergy vs. Consistency

Synergy or Overload?

Strong decks feel boring in a good way: the same handful of cards show up and solve problems every fight. Overloaded decks feel exciting… until your hand fills with pieces that don’t talk to each other.

Consistent decks usually share three traits
  • One primary win condition (poison, strength, scaling powers).
  • A clear block package that works even on bad draws.
  • Limited spice: 1–2 off-plan cards that solve specific problems only.

Whenever you consider a flashy card, ask: “Does this make my best hands better, or just my median hands messier?” If it lives in the messy middle, it’s probably not worth the slot.

Temptation

You see a rare that combos with one card in your deck. If you don’t draw both, it’s weak.

High risk: low floor, high ceiling.

Reality check

Count how many cards in your deck currently become better with this pick. Fewer than three? Treat it as a luxury, not a plan.

Safer route

Prioritise cards that are individually strong and only incidentally synergistic with your core engine.

Spire habit

Best 10 deckbuilding habits almost always include: trimming greedy pieces, respecting your energy curve, and testing builds against elites first.

Strategic Deck Trimming

Purge and Optimise

Removing a starter strike rarely feels as exciting as picking a rare, but in practice it’s one of the strongest upgrades you can buy. Deck purges quietly boost every good card you already have.

  • Act 1: prioritise removing base strikes/defends once you have replacement damage or block.
  • Act 2: cut off-plan cards: that one random power, the attack you never upgrade.
  • Act 3+: focus on shaving cards that don’t help vs. the boss you expect.

If a card hasn’t felt relevant in the last five fights, it’s a purge candidate.

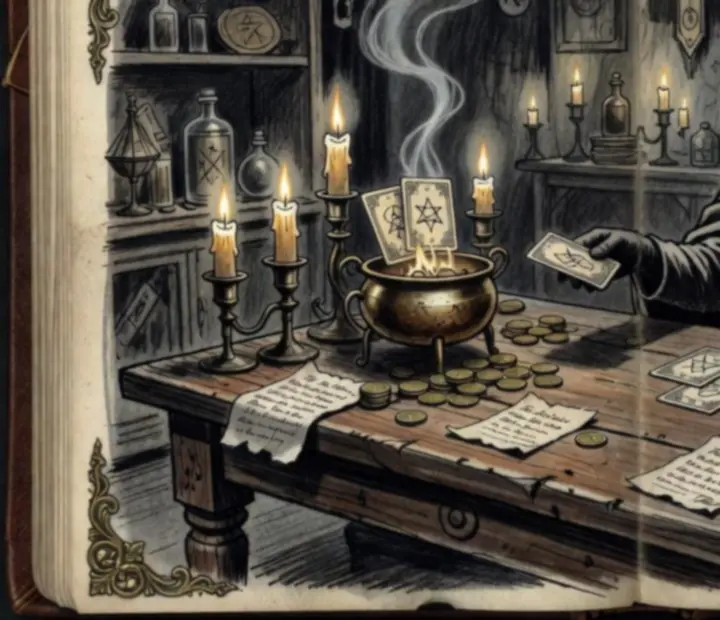
Hand-drawn merchant scene with cards being removed from a deck in exchange for coins and notes about thinning
Merchant margins: “Another strike gone. Another hand closer to greatness.”

Relic Archive Extract

Relic Decision-Making

Relics are permanent rule changes for your run. Treat each one as a chance to upgrade or rewrite your deck’s identity.

  • Energy relics: invite higher-cost cards and more multi-card turns, but can punish you with curses or drawbacks.
  • Card-draw relics: reward leaner decks that convert extra cards into value every turn.
  • Defensive relics: let you invest more picks into scaling and damage instead of raw block.
  • Synergy relics: boost specific tags (powers, zero-costs, orbs), nudging you into or away from particular archetypes.
Relic evaluation shortcut

After seeing a relic, rewrite this sentence: “Because of this relic, I now want to add X and remove Y.” If you can’t finish that clearly, the relic probably isn’t central to your plan.

Before relic

Ironclad strength build struggling to block multi-hit elites, running lean on skills.

After relic

Pick up a block-boosting relic. Plan shifts: prioritise cheap skills and powers that trigger it, skip extra attacks.

Resulting plan

Short-term: survive elites with overperforming block turns. Long-term: scale strength safely and reserve upgrades for key skills.

Misplay to avoid

Adding more heavy attacks because “the relic is defensive anyway”. Let your relics handle one axis so cards can focus the other.

Deck Evolution

Adapting to Relics, Events & Fights

Top players treat their decklist as a draft, not a blueprint. Each floor is a negotiation between what you wanted at the start of the run and what the Spire is actually offering.

  1. Act 1 – Proof of concept. Build a simple, reliable plan that can beat 2–3 elites of your choosing.
  2. Act 2 – Tighten or pivot. If relics and events support your plan, trim hard. If they don’t, pivot early rather than clinging to a half-supported archetype.
  3. Act 3 – Boss-first thinking. Every pick and remove should answer: “Does this make the boss fight easier?”
  4. Act 4 / high Ascension. Margins matter. Upgrade targeting and removals decide more runs than rare cards.
Event-driven pivot

You lose an upgrade but gain a powerful archetype-enabling card. Adjust your removals and future picks to lean into it.

Shop reshapes deck

You find two premium attacks and a removal. Buy the removal first; then the attack that best fits your curve.

Fight feedback

If hallway fights are safe but elites feel scary, you’re under-built on burst or block. If the reverse is true, trim greed.

Ascension adjustment

On higher Ascension, favour early consistency over late-game greed. A dead run never sees its perfect boss deck.

Route & Deck Planning

Branching Paths: Decks and Route Choices

Your deck doesn’t exist in a vacuum; it exists on the map. The same list takes very different risks depending on how confident you are in elites, events and bosses.

See walkthrough routes
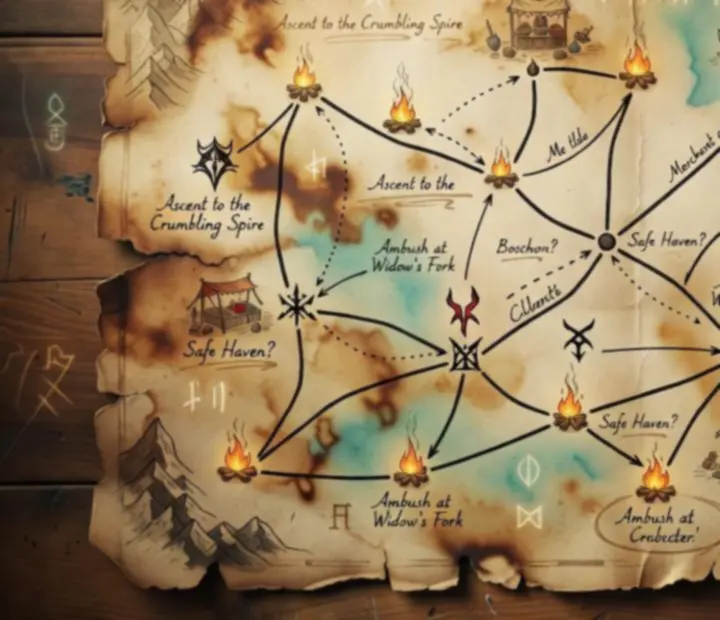
Inked Spire map fragment with branching nodes, merchants, elites and a boss path drawn on parchment
Circle your ideal route. Then ask if your current deck can actually survive it.
Strong early deck

Take more elites for relics. Prioritise paths with campfires after elites in case things go sideways.

Fragile or slow deck

Skew towards events and merchants. Use removals and key purchases to patch glaring holes before you ramp up fights.

Merchant-focused plan

If your deck desperately wants specific cards or relics, path through multiple shops and protect your gold.

Boss-specific prep

Facing a multi-hit boss? Bias towards block and sustain. Single huge hits? Lean into burst and debuffs. Let the boss guide your route.

Damage Planning

Scaling vs. Burst

The core question: Are you killing things quickly, or outlasting them? Most winning decks do a bit of both, but favour one side clearly.

  • Scaling builds (strength, poison, powers) excel vs. long fights and high HP bosses but can stumble vs. fast elites.
  • Burst decks shine in hallways and glass-cannon elites but may struggle to close out bosses before they scale.

Healthy lists include an early-game burst package (cheap attacks, tempo tools) and a few cards that scale well when fights drag.

If elites feel slow

Add or upgrade burst tools: multi-hit attacks, vulnerability, stance swaps.

Risk: don’t overshoot and lose the ability to scale for bosses.

If bosses feel unwinnable

Prioritise scaling cards and relics that keep improving each turn: poison, strength, powers, orbs.

Card role mapping

For each card in your deck, label it mentally as burst, scale, block, or utility. If one column is empty, you’ve found your next priority.

Calculated Gambits

When to Take Risks

Safe but doomed

If your current deck cannot beat the Act boss on paper, avoid “safe” routes that only lead to a slow death. Take elites and high-impact events.

Risk: you may die earlier, but those are useful deaths that teach thresholds.

Ahead of the curve

When you’re already smashing elites, play it slightly safer: protect HP, skip greedy events, and reserve room for crucial removals.

Risk checklist

Before a gamble, ask: “If this fails, do I still have a playable deck?” and “If it succeeds, what fights become trivial?”

Event relics & curses

Some events offer powerful relics for harsh curses. Say yes when your deck has removal access and good draw to absorb the curse; say no when you’re already bricking hands.

Case: Greedy elite path

Act 1 Silent with strong poison opener but shaky block. You choose triple-elite for relics, taking calculated damage to secure a late-game power spike.

Outcome

You leave Act 1 on low HP but with two premium relics. The run now has real boss-killing legs.

Lesson

Risk was justified because without high-roll relics, Act 3 was unwinnable anyway. On the flip side, don’t take the same risk when you’re already favoured.

Related

See Top 10 Risky Paths Worth Taking for more scenario breakdowns.

From Disaster to Comeback

Recovering a Troubled Deck

Not every run starts clean. Maybe you mis-evaluated a rare, maybe you took a curse you couldn’t handle, or maybe Act 1 elites rolled high. You can still salvage a lot of shaky decks.

  • Step 1 – Name the problem. Are you dying to spikes, multi-hits, scaling, or chip damage?
  • Step 2 – Lock your plan. Decide whether you’re a burst or scaling deck from here forward; avoid mixed messages.
  • Step 3 – Emergency trims. Prioritise removals for dead cards and curses even over some strong additions.
  • Step 4 – Short-term bandages. Take a few cards that patch your worst matchup, even if they’re off-plan.
If defence is failing

Prioritise block upgrades, relics, and cards that flatten enemy spikes (weak, dexterity, flurry block tools).

If damage is too low

Drop “cute” cards and hunt for clean scaling or premium attacks. Even a basic solid rare can stabilise a run.

If hands are clunky

Add draw and cycling, then remove the worst offenders. Aim for shorter, sharper turns.

If all else fails

Take events and elites that can fund a hard pivot—powerful relics, transformative cards, or multi-removal opportunities.

Annotated Deck Showcases

Real-Run Decks, Marked Up

These aren’t theorycrafts; they’re actual winning decks pinned to the archive with notes on where the run turned.

Search similar builds
01 Silent · Poison Route

Act 3 Poison Deck – From Scrappy Start to Clean Kill

Early floors looked rough: scattered attacks, no clear archetype. A mid-Act 1 elite dropped a key poison card, and the run pivoted hard.

  • Key decision 1: Skipped a flashy rare attack to take a reliable poison card that matched the new plan.
  • Key decision 2: Prioritised three removals in Act 2 to cut early-game clutter.
  • Key decision 3: Took a “risky” shop route specifically to afford a crucial relic that doubled poison output.

Note to self: the run turned the moment we committed and started skipping good-but-off-plan cards.

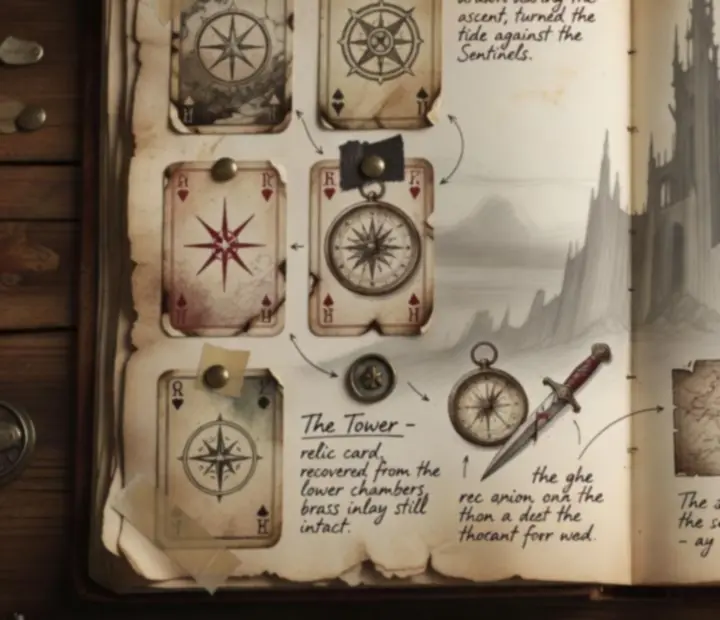
Torn field journal page showing a winning deck layout with handwritten annotations on key cards and relics
Each arrow marks a decision point: add, skip, or remove. The deck is just the fossil record of those choices.

Continue Your Climb

Where to Take Your Deck Next

Use this page as your deckbuilding compass, then dive deeper into specific matchups, bosses and card pools across the archive.