Walkthrough Archive

Spire Route Walkthroughs

Deckbuilder / Roguelike / Strategy Runs · Act-by-Act Route Decisions

Trace complete Slay the Spire runs as if leafing through an expedition journal: branching maps, annotated decisions, and encounter dossiers from first campfire to the Heart.

Hand-drawn journal spread of the Spire rising through clouds with cards and route notes.
Typical winning route: lean deck, safe early path, targeted elites, prepared boss, flexible answers for bad draws.
"Circle the elites you can actually beat, not the ones you wish you could. The Spire punishes daydreaming."
"Every campfire is a question: upgrade, rest, or reroute? Track your answers and the Spire starts to speak."

Expedition Journal

Ascending the Spire: A Full-Run Field Journal

This walkthrough follows a typical successful Spire run from the first campfire to the climb beyond Act 3. Read it as if you have borrowed an adventurer's notebook, complete with margin scrawls and crossed-out mistakes.

From first campfire to Act 1 boss

Our climber starts by tracing a route that touches one early merchant, two campfires, and exactly one elite. The goal is not to high-roll, but to reach the Act 1 boss with a lean, functional deck and healthy HP.

  • Card intake rule: skip anything that does not clearly solve damage, defence, or energy issues in the first three hallways.
  • Campfire 1: upgrade a core block or damage card instead of resting if you are above ~70% HP. That early upgrade smooths both hallway fights and the elite.
  • Elite choice: take the elite you have specific answers for. If your deck lacks multi-hit defence, avoid Gremlin Nob; if you cannot answer wide damage, avoid Lagavulin.

Field journal note

New players often "lock in" a risky path before seeing their first few card rewards. Redrawing the route after each fight is perfectly legal—and very powerful.

Mid-run adjustments through Acts 2 and 3

Once the deck's core loop is online, the journal tracks how the route shifts around campfires and events to protect the deck's strengths:

  • Act 2: favour paths that alternate between elites and campfires so you can patch damage with rests or upgrades.
  • Events: prioritise removals and scaling opportunities; avoid high-variance gambles when your deck is already working.
  • Act 3: choose routes that line up your remaining upgrades with key boss cards such as scaling powers or multi-target answers.

By the time the run pushes beyond Act 3, the "journal" is mostly small corrections: one extra campfire for safety, or a late elite skipped because the relic reward is no longer worth the risk.
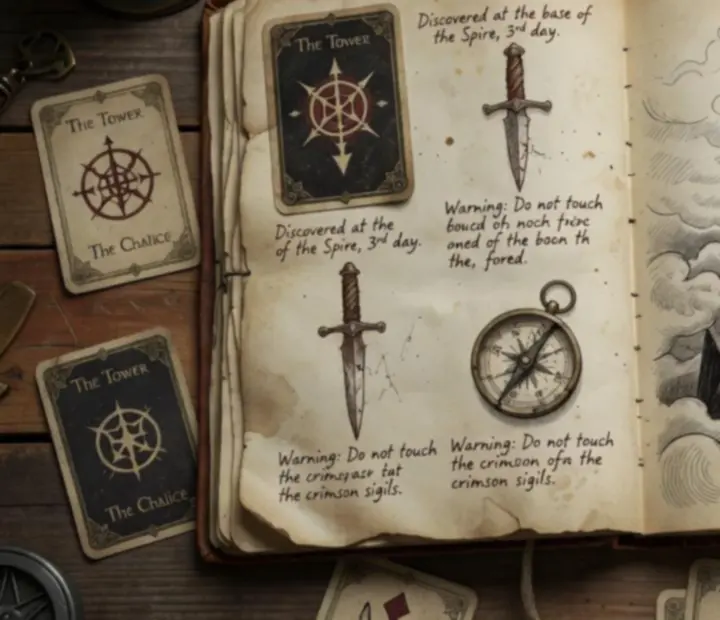
Parchment spread showing a full Spire run annotated with decisions from campfires to the final ascent.
"Notice how we only fight elites when we have a plan. The map is full of danger; your job is to say no as often as you say yes."

Branching Routes Explained

Annotated Spire Maps and Pathing Decisions

Spire maps look chaotic at first glance, but every node belongs to a route family: safe scaling lines, elite rushes, and flex paths that let you dodge disaster. This section builds visual decision trees to turn that chaos into a plan.

Start of Act

Pick three candidate lines: a safe route, a greedy elite path, and a flexible compromise.

Risk level: Set to "low" until your first card rewards appear.

After first two fights

Re-evaluate: did you find early damage, block, or scaling? If not, steer into campfires and merchants instead of elites.

Elite fork

If you are healthy and your deck answers at least one elite type cleanly, commit. Otherwise, route through events and a campfire instead.

Campfire-heavy line
Elite-focused route
Event-rich path
Boss node alignment

Whenever the path branches, ask two questions:

  1. What does this route demand? Extra HP, specific cards, or relics?
  2. What does my deck actually have? Enough to pay that price, or should I pivot?

Practise drawing these decision trees for your own runs. Over time, you'll "see" the safest and riskiest lines at a glance.

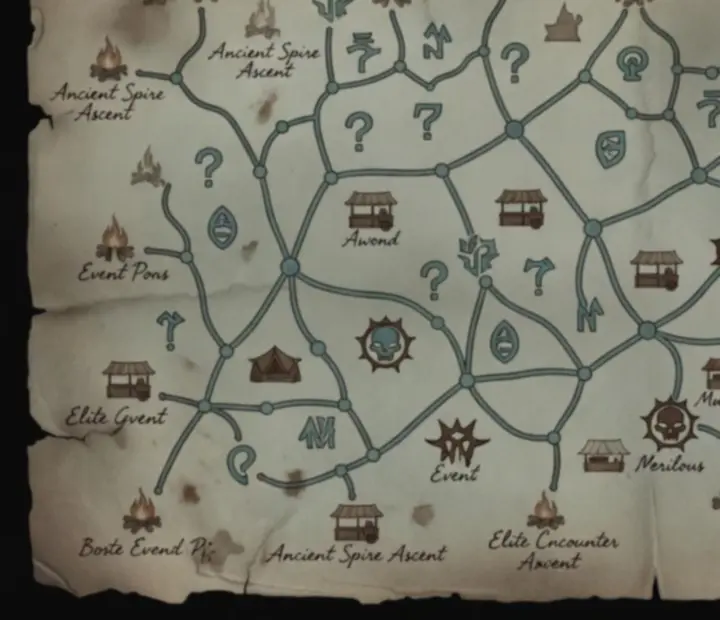
Annotated Spire route map with branching paths marked for elites, merchants, campfires and events.
Circle your pivot nodes—the points where you can still dodge a risky elite or dive into an event chain.

Early Game Approach

Surviving Act 1 Without Bricking Your Deck

Act 1 is where many Aussie climbers quietly throw their runs. This walkthrough uses hand-drawn map fragments and imagined dialogue bubbles to show when to grab cards, when to skip, and when to deliberately take a risky route.

Map fragments: three safe Act 1 skeletons

  • Skeleton A – Conservative climb: merchant → campfire → elite → campfire → boss.
  • Skeleton B – Event heavy: event → fight → event → campfire → elite → boss.
  • Skeleton C – No early elites: fights and events only, with three campfires before the boss.

Each fragment includes notes like "skip here unless you are desperate for block" or "this event is safe at 70%+ HP" so you can rehearse decision-making before the pressure hits.

Dialogue bubbles: typical Act 1 mistakes

Imagine two voices in the margins:

  • Impulsive "I'll take every rare card, we'll fix the deck later."
  • Journalx "Skip that one—it's off-plan. Your current build needs consistent block, not more fancy damage."

By the boss, the successful line usually has a small deck, clear win condition, and enough block to survive bad draws. The route you took either supported that goal or fought against it.

Practical takeaway

Before locking in an elite, ask: "If I draw my worst possible five cards against this elite, do I still have a line to survive?" If not, reroute.

Tactical Encounters

Field Reports on Elite Fights

Each elite is treated here like a mini-boss with its own dossier: attack patterns, common fail states, and route notes explaining when to prioritise or avoid the fight entirely.

Act 1: Elite field notes

Gremlin Nob punishes powers and skills; Lagavulin tests your scaling; the Sentinels attack your ability to stabilise over multiple turns.

Route implications

Your map path should line you up against the elite you are best suited to beat—not whichever icon looks closest.

Risk assessment stamps

Every report includes a stamped risk rating to guide your routing:

  • Low risk if your deck cleanly answers the elite's main pattern.
  • Medium risk if you need decent draws or a specific potion.
  • High risk when your deck fundamentally clashes with the encounter.

Use these stamps to decide whether to veer into or away from an elite on your current run.

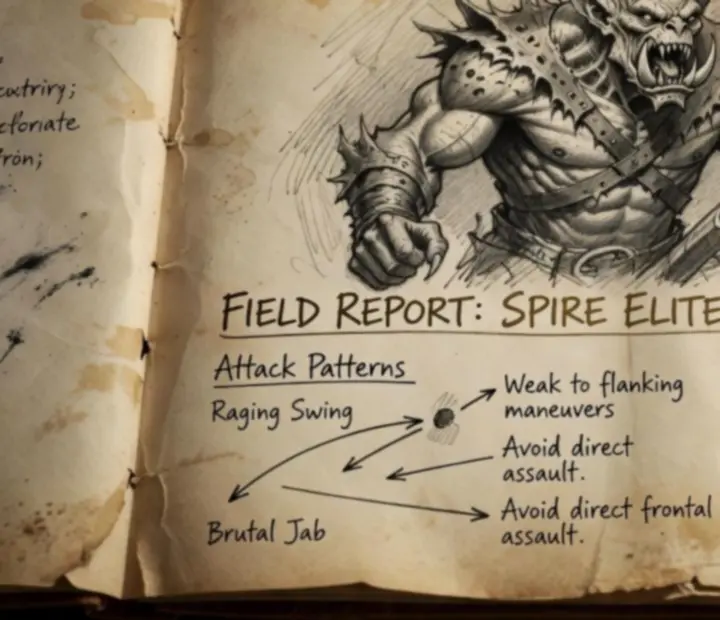
Ink-drawn elite encounter report showing attack patterns and tactical annotations.
"Circle the turns where you are guaranteed to take damage. Build your deck and route so those circles shrink over time."

Boss Fights · Acts 1–3

Encounter Dossiers for Key Bosses

Route-aligned prep

These walkthroughs treat each Act boss as the destination your entire route has been pointing at. Instead of generic tips, you get concrete preparation plans tied to map choices, card picks, and relic evaluations.

Act 1: Setting your foundation

Each possible Act 1 boss changes what "good enough" looks like when selecting routes and cards:

  • Guardian: emphasise front-loaded block and ways to manage multi-phase damage.
  • Slime Boss: prioritise burst damage and ways to avoid awkward splits.
  • Hexaghost: route to control your pre-fight HP—sometimes losing HP on purpose is correct.

Acts 2 and 3: Route pressure

Later bosses demand that your route serve two masters: surviving elites and building towards a specific boss plan. The dossiers highlight critical questions like:

  • Do you need extra campfires for upgrades, or can you afford more elites for relics?
  • Which events are worth detouring for (removals, transforms, upgrades) given your boss matchup?
  • Is your deck's win condition fast enough, or should you pivot into a different archetype mid-run?
Boss encounter dossier with diagrams, card notes and timing tips on parchment.
Track not just what the boss does—but when. Route your upgrades to land before those key turns.

Mid-Run Adaptation

Adjusting When Luck Falters

Not every run is blessed. This walkthrough is a set of annotated run excerpts that show exactly how to salvage a dodgy climb: when to abandon your original plan, how to route around damage spikes, and when to accept a scrappy win.

Annotated turning points

Each example marks pivotal choices with fate symbols and arrows: a risky event that pays off, a skipped elite that saves the run, or a campfire rest that trades long-term power for survival.

  • Pivot arrows: show where the route changes to favour safety over greed.
  • Fate symbols: highlight rare high-impact events that justify extra risk when your run is behind.
  • Crossed-out lines: represent tempting but disastrous paths the journal explicitly rejects.

Adaptation mantra

"Play the run you have, not the run you wanted." If your scaling never shows up, route into shorter fights and safer elites instead of pretending your deck can handle anything.

By practising with these mid-run case studies, you will get better at spotting when a run is still saveable—and how the map can help.

Pivotal Events

Branching Outcomes at Event Nodes

Events are where the Spire whispers bargains. This walkthrough converts several common and rare events into outcome diagrams so you can weigh risk and reward properly, instead of just hoping for the best.

Outcome diagrams in practice

Each event is broken into branches:

  • Safe branch: low-variance, usually modest reward. Ideal when your run is already ahead.
  • Gamble branch: high-variance, high-reward outcomes. Best when your current route looks unwinnable without a big swing.
  • Decline branch: often underrated. Saying "no" is sometimes the strongest play.

The diagrams include short archive-style notes such as "Take this only above 60% HP" or "Worth gambling if your deck has no scaling by mid Act 2".

By linking each event branch to your current HP, deck plan, and upcoming elites, these walkthroughs turn vague "gut feelings" into explicit strategy.

Ascension Archive · Hidden Act 4

The Final Stretch: Preparing for the Heart

This climactic walkthrough treats the Heart as a museum centrepiece: studied from every angle before you ever step into the fight. The parchment underlay shows the Heart looming over the route, reminding you that even Act 3 is just preparation.

Deck state checklist (not a strict list—more a lens)

Instead of a rigid checklist, you get lenses to inspect your deck:

  • Scaling lens: Can your deck's damage or block meaningfully increase over a long fight?
  • Consistency lens: Do you have ways to see your key cards often enough?
  • Mitigation lens: How do you handle huge multi-hit turns and status clutter?

For each lens, the guide explains which routes (extra elites, side events, specific campfire counts) best support shoring up weaknesses before the Heart.

Route diagrams into Act 4

The map diagrams highlight:

  • When to prioritise final upgrades over one more elite.
  • How to conserve potions and HP through the Act 4 hallway fights.
  • Which events you can safely skip once your deck is already Heart-ready.

By the time you stand before the Heart, your path should feel deliberate: every prior elite, event, and campfire chosen with this encounter in mind.

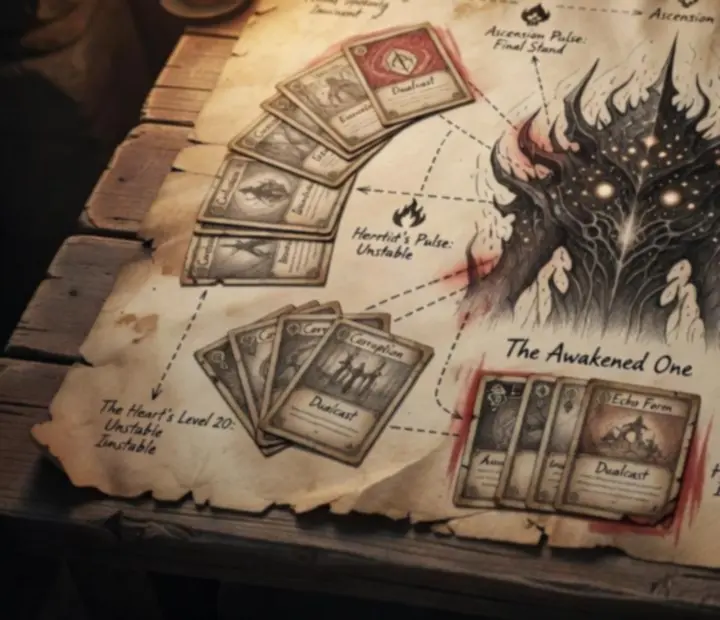
Parchment illustration of the Heart with handwritten notes on deck, relics and final route.
"If the Heart feels impossible, your route probably served the wrong boss. Next climb, build the journey around this room."
10
Editorial Feature Trail

Follow the Top 10 Trails to Sharpen Your Routes

Walkthroughs are only one piece of the archive. Continue your climb through editorial routes like "Top 10 Cards for New Players", "Best 10 Relic Synergies", and "Top 10 Risky Paths Worth Taking" to round out your Spire decision-making.

"Pin your favourite features like trail markers; revisit them whenever a run feels familiar in the worst way."